When the temperatures drop and you need your furnace to keep your home warm and cozy, it’s important to know how to safely light the pilot light on your furnace. Knowing how to light a pilot light on a furnace is an essential skill that can help you avoid costly repairs and keep your home comfortable. Here’s a breakdown of the pilot light, what it does, and how to safely light the pilot light on your furnace.
What is the pilot light on your furnace?
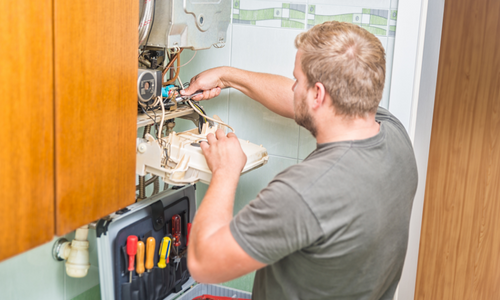
The pilot light on a furnace is an important safety feature used to ignite the furnace’s main burner. This small flame serves as an ignition source for the entire heating system and provides a constant supply of heat to warm your home. It is usually located near the bottom of the furnace, either in its own metal cover or within the larger combustion chamber.
Regular maintenance of the pilot light is necessary to ensure that it remains lit and functioning properly. One of the most common issues is a pilot light that has gone out, which can occur for various reasons such as an excessive buildup of dirt or debris in the furnace, a draft from an open window or door, or even a problem with the gas line. To relight the pilot light, you will need to follow specific steps and safety precautions.
How to Safely Light the Pilot Light on Your Furnace
Step 1: Turn off the furnace
Before you attempt to light the pilot light, make sure that the furnace is turned off. To learn how to light a furnace, you should first locate the furnace’s power switch, which is usually located near the furnace or on the circuit breaker panel. If you’re not sure which switch controls the furnace, turn off the main power switch to be safe.
Step 2: Locate the pilot light
The next step to learning how to light a pilot on a furnace is to locate the pilot light. The pilot light is typically located inside the furnace cabinet, and you may need to remove the front panel to access it. Look for a small gas pipe that leads to a small metal tube, which is the pilot light.
Step 3: Turn the gas valve to “Off”
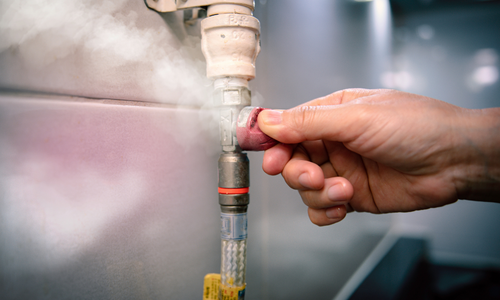
Next, locate the gas valve for the furnace. To learn how to light the pilot light on a furnace, you need to know how to turn off the gas supply to the furnace. The gas valve is usually a knob that is located on the gas pipe leading to the furnace. Turn the gas valve to the “Off” position to shut off the gas supply to the furnace.
Step 4: Wait for the gas to dissipate
Once you’ve turned off the gas valve, wait for a few minutes to allow the gas to dissipate. This is important because if you attempt to light the pilot light too soon, the gas could ignite and cause a fire or explosion. You can tell if the gas has dissipated by sniffing around the furnace to check if you smell any gas.
Step 5: Access the pilot light
Now that you’ve waited for the gas to dissipate, you can access the pilot light. Remove the front panel of the furnace to expose the pilot light. If you’re not sure how to remove the panel, consult the owner’s manual or contact a professional for assistance.
Step 6: Learn how to light the pilot light on a furnace
To learn how to light the pilot light on a furnace, you need to follow a few steps. First, locate the pilot light tube and hold a lit match or lighter near the end of the tube. Then, turn the gas valve to the “Pilot” position and hold it down. You should see a small flame ignite at the end of the pilot light tube. If the flame doesn’t light, repeat the process from step 3.
Step 7: Hold down the gas valve
Once you’ve learned how to light the pilot light on a furnace, continue to hold down the gas valve for about 30 seconds to a minute. This allows the thermocouple to heat up and signal the gas valve to continue supplying gas to the burner. If the pilot light goes out when you release the gas valve, repeat the process from step 3.
Step 8: Turn the gas valve to “On”
After holding down the gas valve for 30 seconds to a minute, turn the gas valve to the “On” position to allow gas to flow to the burner. The burner should ignite and begin producing heat. If the burner doesn’t ignite, consult the owner’s manual or contact a professional for assistance.
Step 9: Replace the front panel
Finally, replace the front panel of the furnace and turn the furnace’s power switch back on. The furnace should continue to produce heat and keep your home comfortable.
It’s important to note that if you smell gas or suspect a gas leak at any point during the process of learning how to light a pilot light on a furnace, immediately turn off the gas supply and contact a professional for assistance. Gas leaks can be very dangerous and should be taken seriously.
In addition to knowing how to safely light the pilot light on your furnace, it’s important to perform regular maintenance on your furnace to ensure that it is running efficiently and safely. This includes changing the air filter regularly, keeping the area around the furnace clean and free of debris, and having your furnace inspected by a trusted professional such as Autumn Air at least once a year.
Conclusion
Learning how to light a pilot light on a furnace can seem daunting at first, but with a little practice and patience, you can master this essential skill. By following these steps and taking the necessary precautions, you can safely and confidently light the pilot light on your furnace and keep your home warm and comfortable during the cold winter months.
In case you’re looking for a new installation or a repair, consider contacting Autumn Air at (602) 266-5247 or click here to book your appointment.